Exploring the Intricacies of Macro Photography
Dive Into the World of Macro Photography with Our Podcast Series
Join us as we unveil the hidden details of the smallest subjects in our debut podcast episode on Macro Photography.
Introduction to Macro Photography
What is Macro Photography?
Macro photography transforms the minute into the magnificent, capturing details invisible to the naked eye. This episode of the Driving Photography Podcast delves into the essentials of macro photography, from the equipment to the techniques needed to master this captivating art form.
Key Characteristics of Macro Photography

Selective Focus
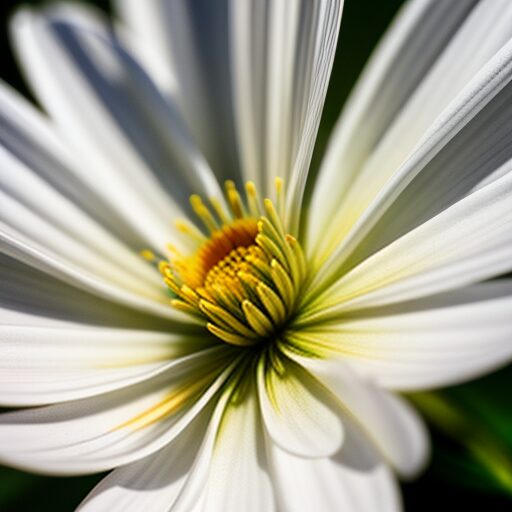
Selective focus allows photographers to highlight specific details of a subject, creating a striking contrast between the sharply focused area and the softly blurred background.
Extreme Shallow Depth of Field
Magnification and Detail
Essential Gear for Macro Photography
Embarking on a macro photography journey requires specialized equipment to capture the minuscule details of your subjects. Key tools include dedicated macro lenses, which are designed to deliver sharp, detailed close-up shots with minimal distortion. Extension tubes are another vital accessory, extending the distance between the lens and the sensor to allow closer focusing distances without compromising image quality. Lastly, close-up filters, which attach to your lens like a regular filter, offer a convenient, portable option to increase magnification, albeit with a slight reduction in image quality compared to true macro lenses.

Optimizing Camera Settings for Macro Photography
Step 1: Aperture Settings
Start by adjusting the aperture to control the depth of field. In macro photography, even at high f-stops like f/22, the depth of field remains extremely shallow. Experiment with different apertures to find the right balance between sharpness and bokeh.
Step 2: Shutter Speed
Due to the close proximity to subjects, lighting can be limited. Adjust the shutter speed to ensure enough light hits the sensor, keeping in mind that slower speeds may require a tripod to prevent camera shake.
Step 3: ISO and Focus
Keep the ISO as low as possible to avoid noise, which is more pronounced in macro shots. Focus manually to gain precise control over the focal point, especially important when dealing with such shallow depth of fields.
Join Us for More Macro Insights
Delve deeper into the art of macro photography by visiting drivingphotography.com. Access our latest podcast episodes, detailed transcripts, and engage with our community on social media to enhance your photography skills.
